TL;DR - I give some useful syntax for using Tkinter, since the documentation is not really friendly to noobs like myself.
Feel free to open the Tkinter docs too, or chat with GPT while you code😂

fuzzyListDedupeGUI
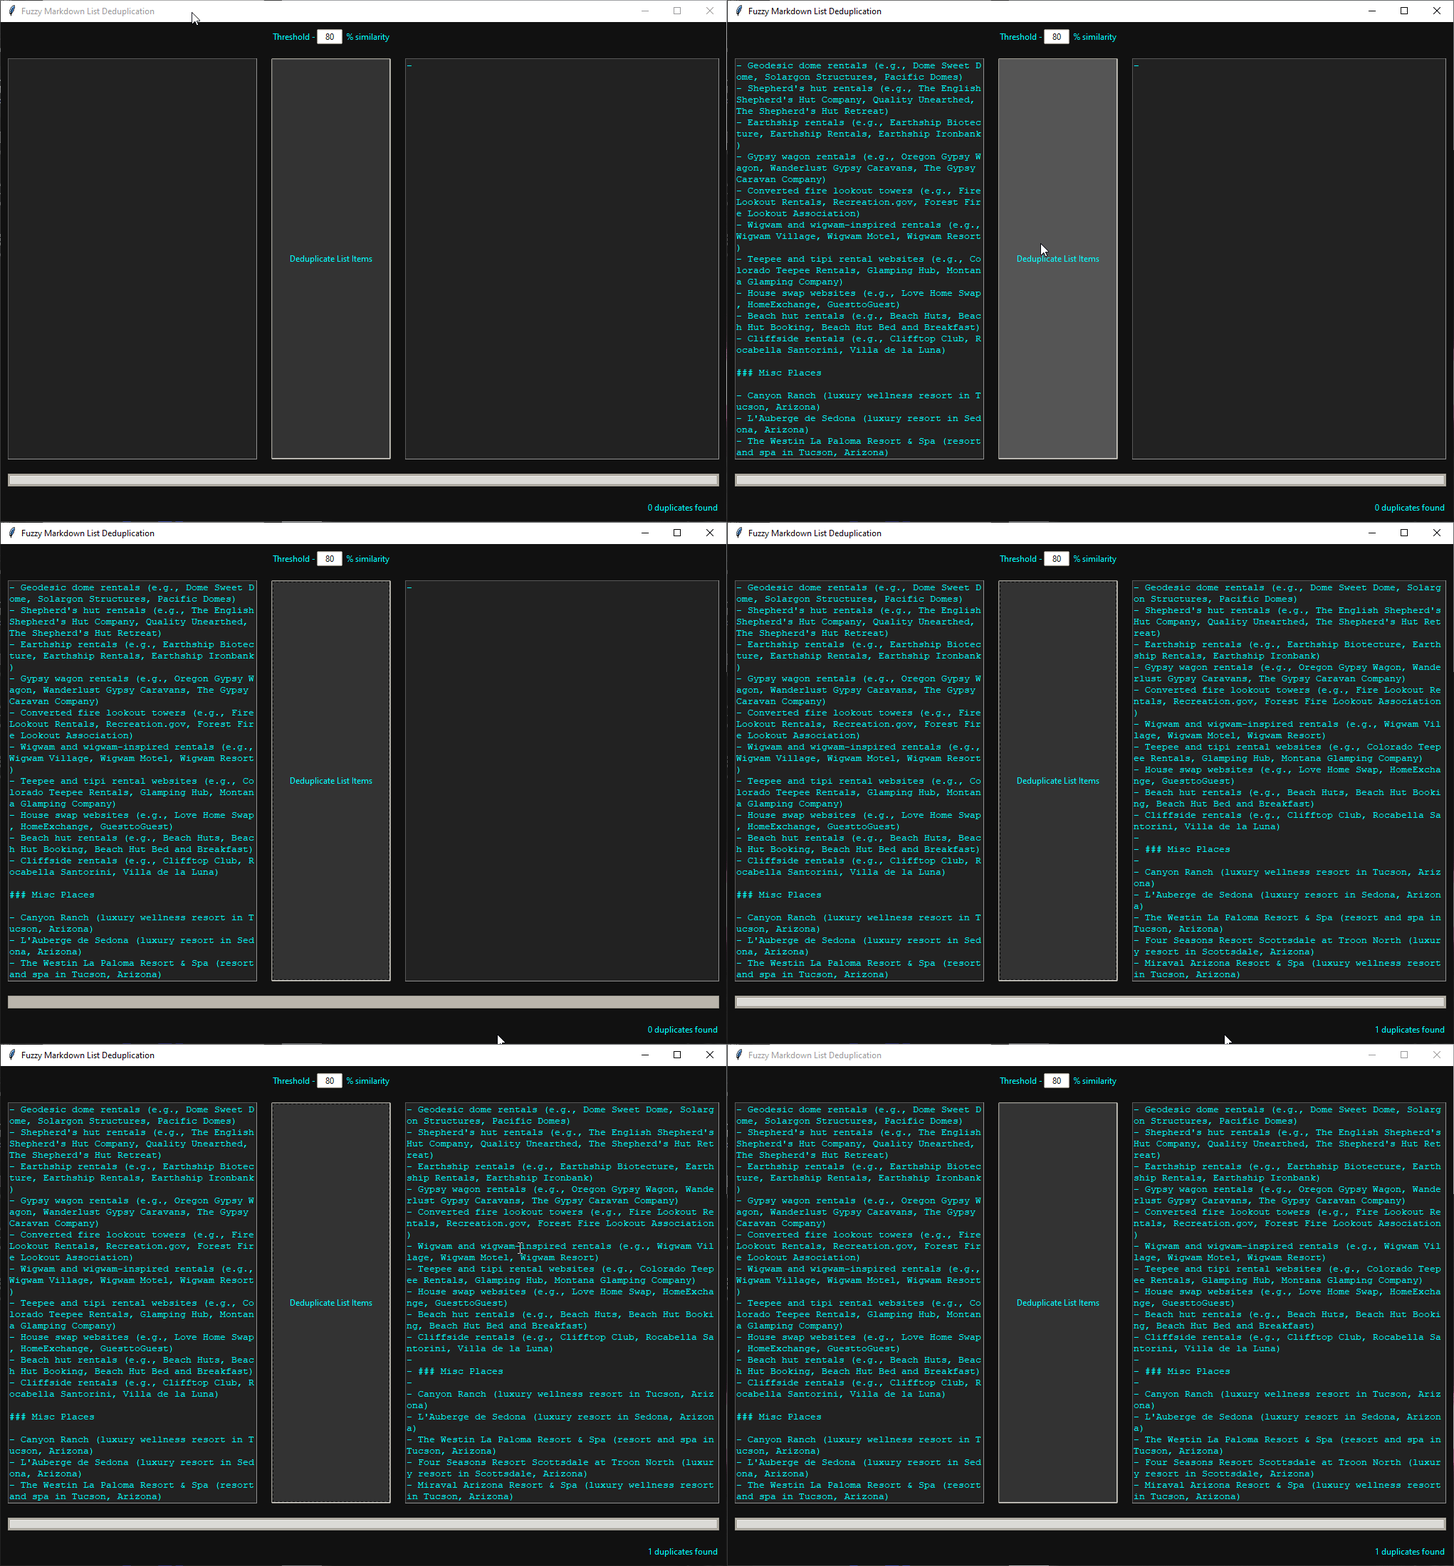
The below GUI is from a project I used Tkinter and ChatGPT on check it out 😁.
https://blog.cybersader.com/fuzzy-deduplicate-bullet-points-from-chatgpt/

Building a Python GUI Using Tkinter (not the best, but good enough)
I personally think Tkinter is great for little automation projects like the one I did above.
Here are some tips and useful syntax for building a Python GUI using Tkinter:
Creating a GUI with Tkinter
To create a GUI with Tkinter, you first need to import the module by writing from tkinter import * at the top of your Python file. You can then create a new window or frame by instantiating a Tk() object. For example:
root = Tk()Widgets are the building blocks of a Tkinter GUI. They are objects that represent graphical elements such as buttons, labels, text boxes, etc.
from tkinter import *

root = Tk()
label = Label(root, text='Hello, world!')
button = Button(root, text='Click me')
entry = Entry(root)
Grid method
The grid method in Tkinter is used to place widgets in a grid layout. The basic syntax of the grid method is:
widget.grid(row=row_number, column=column_number)This will place the widget in the specified row and column of the grid. You can also specify the number of rows and columns the widget should span using the rowspan and columnspan options:
widget.grid(row=row_number, column=column_number, rowspan=rowspan_number, columnspan=columnspan_number)You can also create grids within grids by using a Frame widget. A Frame is like a container for other widgets, and you can place widgets inside of it using the grid method. This is how I had the top part of my Python GUI made

Here's an example of a 2x2 grid with a grid inside the top left cell:
from tkinter import *

root = Tk()

# Create labels for the outer grid
cell_00 = Label(root, text="0, 0")
cell_01 = Label(root, text="0, 1")
cell_10 = Label(root, text="1, 0")
cell_11 = Label(root, text="1, 1")

# Create a frame for the inner grid
inner_frame = Frame(root, bg="gray")

# Create labels for the inner grid
inner_cell_00 = Label(inner_frame, text="0, 0")
inner_cell_01 = Label(inner_frame, text="0, 1")
inner_cell_10 = Label(inner_frame, text="1, 0")
inner_cell_11 = Label(inner_frame, text="1, 1")

# Place the inner grid labels in the inner frame using the grid method
inner_cell_00.grid(row=0, column=0)
inner_cell_01.grid(row=0, column=1)
inner_cell_10.grid(row=1, column=0)
inner_cell_11.grid(row=1, column=1)

# Place the inner frame in the outer grid using the grid method
inner_frame.grid(row=0, column=0)

# Place the outer grid labels using the grid method
cell_01.grid(row=0, column=1)
cell_10
Themes
To change the appearance of your GUI, you can use themes. Tkinter comes with several built-in themes, such as 'clam', 'alt', and 'default'. You can use the ttk.Style class to set the theme and configure the widgets in your GUI. For example:
style = ttk.Style()
style.theme_use('clam')
style.configure('.', background='#111111', foreground='#00ffff')
style.configure('TButton', background='#333333', foreground='#00ffff', lightcolor='#555555')
Some other built-in themes include: ('aqua', 'step', 'clam', 'alt', 'default', 'classic')
Click events
To add functionality to your GUI, you can bind events to your widgets. For example, to execute a function when a button is clicked, you can use the command option of the Button class. For example:
convert_button = ttk.Button(root, text="Deduplicate List Items", command=convert_bullet_points)This code creates a button with the text "Deduplicate List Items" that executes the convert_bullet_points function when clicked.
Updating widgets
To update the contents of a widget dynamically, you can use the insert method for text boxes and labels, and the set method for progress bars. For example:
output_box.delete("1.0", END)
output_box.insert(END, output_text)
This code clears the output text box and inserts the deduplicated bullet points into it.
progress_var.set(progress)This code sets the value of the progress bar to a percentage value.
Creating a progress bar (example)
progress_var = DoubleVar()
progress_bar = ttk.Progressbar(root, variable=progress_var, maximum=100)
progress_bar.grid(row=2, column=0, columnspan=3, sticky="ew", padx=10, pady=10)
This creates a ttk Progressbar widget with a maximum value of 100 and assigns it to the progress_bar variable. The variable argument specifies a variable to track the progress, and the columnspan argument makes the widget span across all three columns of the grid. The ew sticky argument makes the widget stretch horizontally.
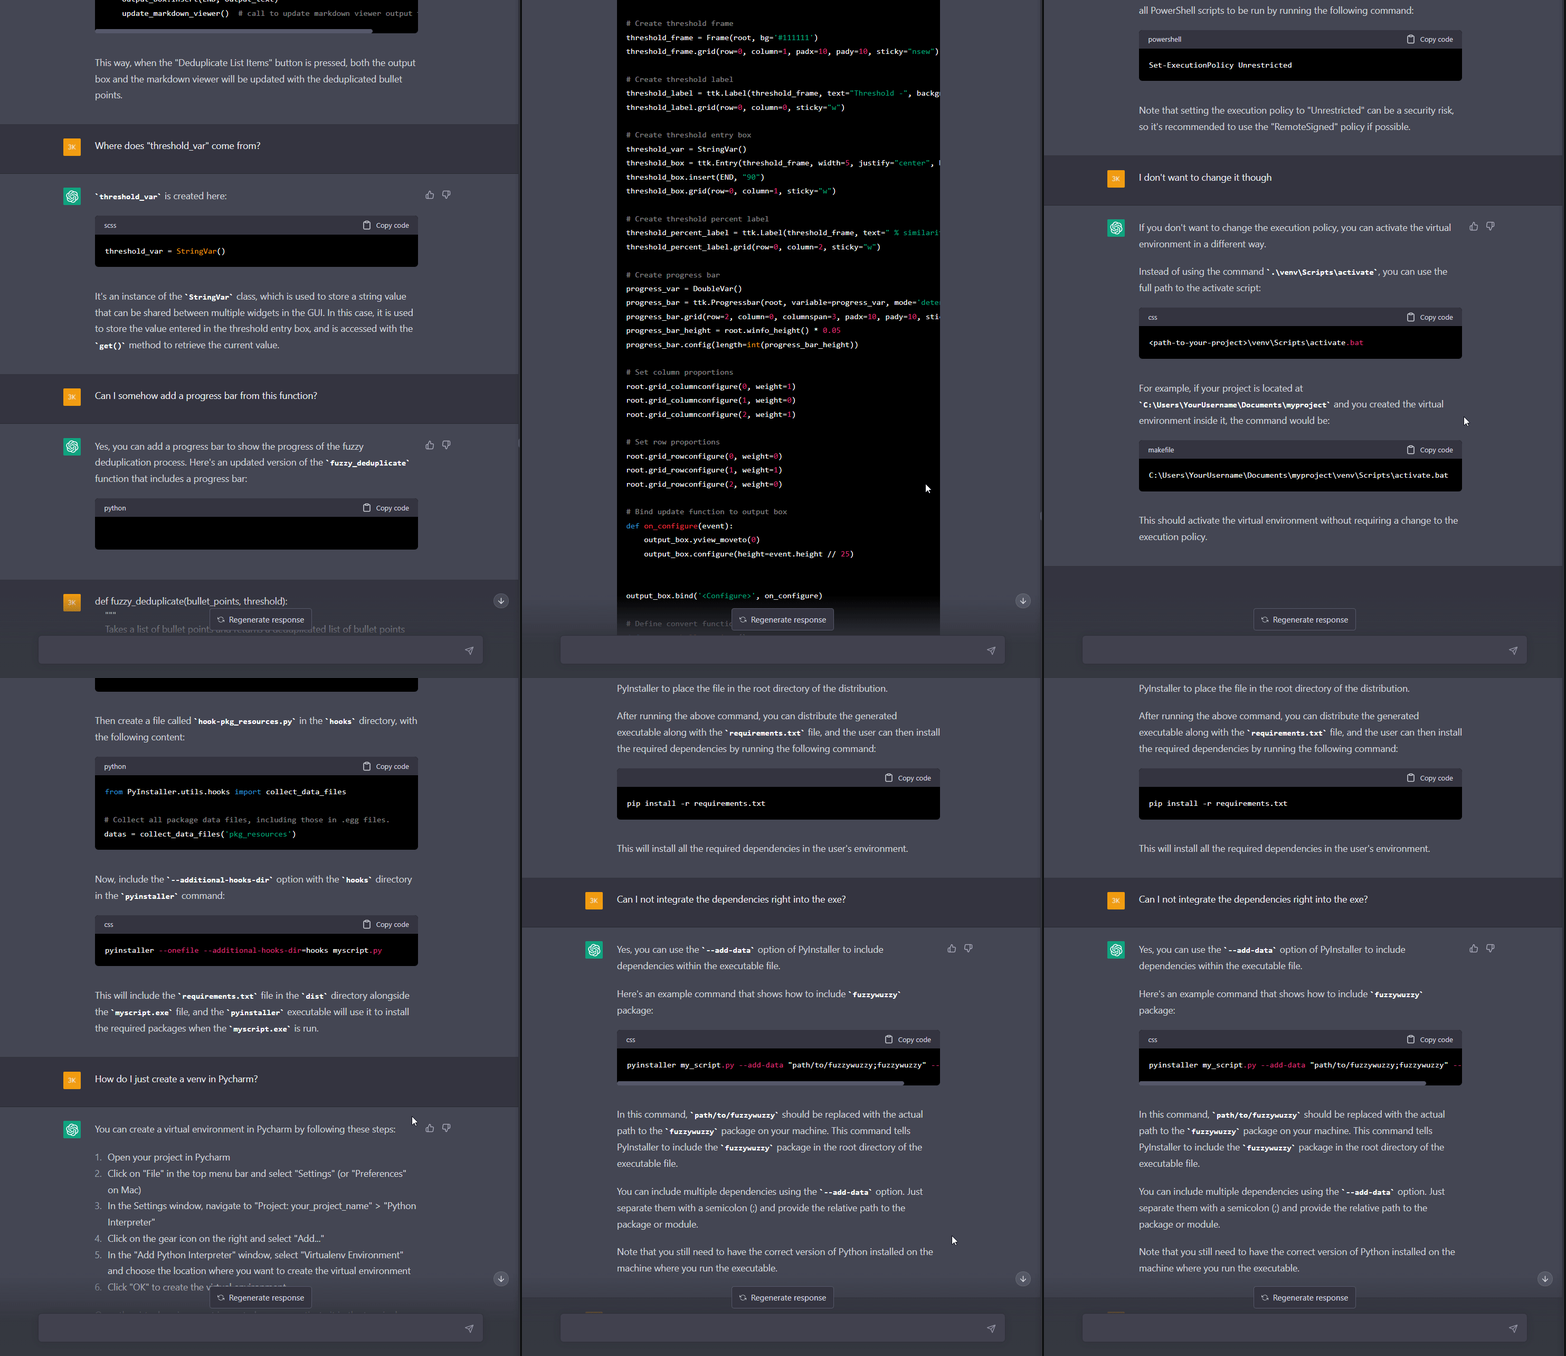
Using ChatGPT to help you code
ChatGPT is not a developer "killer" either. In fact, GPT gets a lot of things wrong, but there are obvious reasons for that. However, it is great for streamlining your process, generating boilerplate code, or in general, learning another abstraction in programming when you've already learned so many.

I used ChatGPT in several ways when I was coding:
- Explain potential solutions for weird errors
- Generate boilerplate or a layout for the code
- Help me design certain functions
- Help me with syntax from Tkinter
A lot of the time, I can explain something back to ChatGPT which is great for: 1) making sure I understand the topic and 2) recorrecting the model to help me more.
You still have to understand coding concepts and general debugging to use it. Most of the time I was using it to get a general layout, then I would tweak the code. Better than trying to go through StackOverflow posts which can sometimes be full of pretentious, impatient, and toxic developers...only sometimes, but enough to make you cry when your post gets downvoted into oblivion.


