
TL;DR - having GPT generates lists of things can sometimes cause duplicates when the response is long or you have to type "Continue." I built this tool to help me copy, paste, and delete duplicates. They also don't have to exactly match, and you can control how similar they can be before getting deleted.
 cybersader
This tool can help you build curated lists easier and deduplicate list items generated from ChatGPT. It would be easy to build a small web app for this using JS libraries.
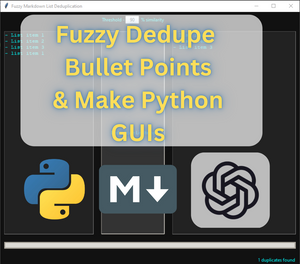
"Continue" and duplicated list items in ChatGPT
If you've used ChatGPT yet, then you've noticed that it has response limits and that you need to say something like "Continue" or "keep going" to have it finish some of its responses. Sometimes it generates duplicates during this.
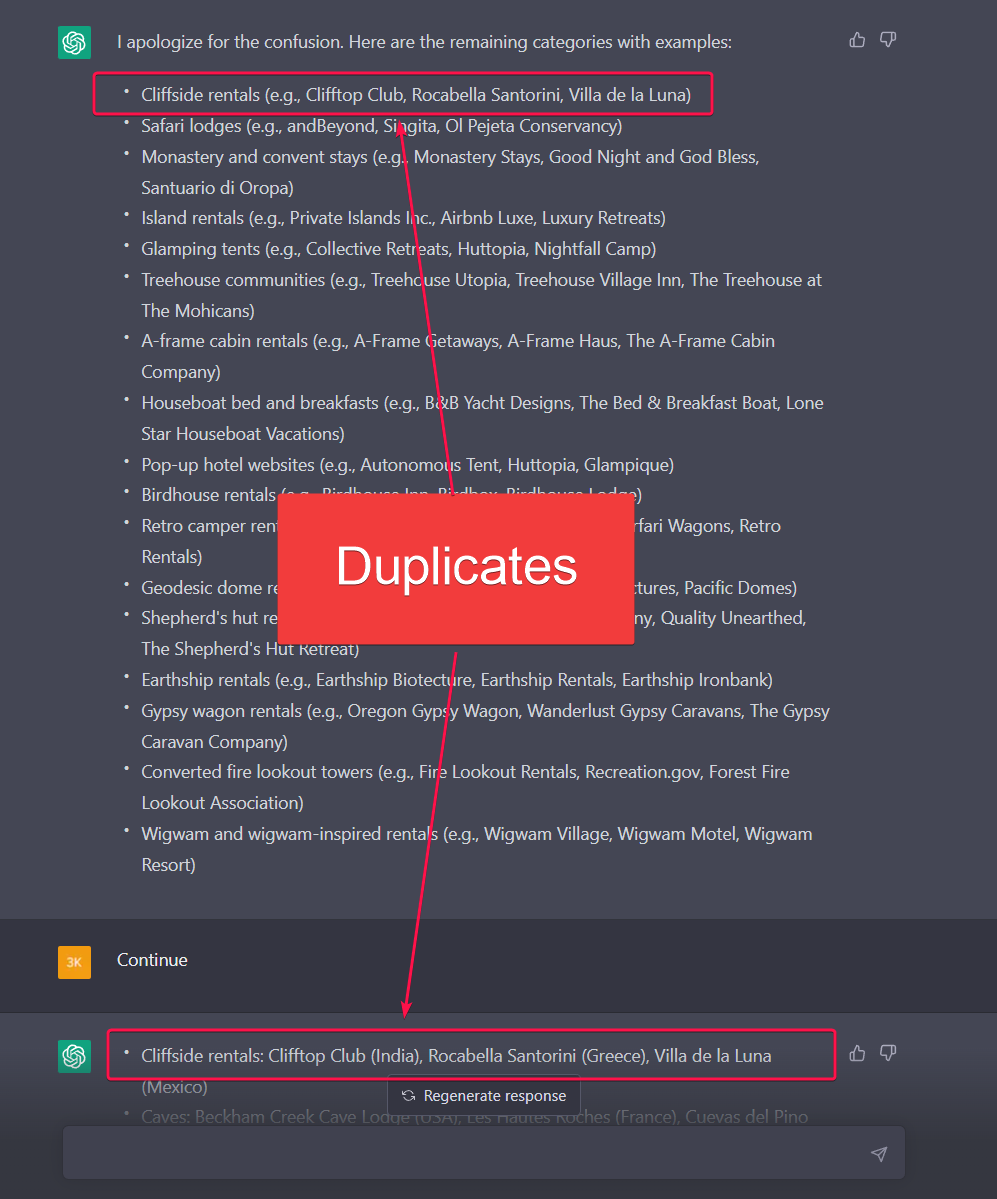
Example of me looking for categories of places to stay for a honeymoon, and it generates a duplicate for "Cliffside rentals." This is where the tool I made can come in handy when you are trying to curate something for a particular topic that has lots of generated items in a list.
Using FuzzyDedupeGUI
3 options:
- (Windows) Run the .exe file
- Build a binary/exe from the source code
- Run using Python
Using the EXE / Application / Binary File (Windows)(Easy-Way)
This is very straightforward:
- Go to my repo - https://github.com/cybersader/fuzzyListDedupeGUI
- Download fuzzyDedupGUI.exe (<- here) from Releases
- Run it and enjoy.

Building an EXE from the Source Code
- Download and install Python if you haven't already.
- Clone the project's source code from GitHub using the following command in your command line interface (CLI):
git clone https://github.com/cybersader/fuzzyListDedupeGUI.git - Navigate to the project's root directory in your CLI using the
cdcommand. - Install the project's dependencies by running the following command in your CLI:
pip install -r requirements.txt. This will install thefuzzywuzzypackage. - Use PyInstaller to create the EXE file. Run the following commands in your CLI:
pip install pyinstaller— THEN RUN —pyinstaller --noconsole --onefil --paths=[path to the folder with your dependencies in it] main.py.
If you're using a virtual environment then the path to the "lib" (libraries/dependency code) folder will be used in the command similar to this:pyinstall --noconsole --onefile --path=./venv/Libs/site-packages main.py. This is how I did it with the code generated using Pycharm as my IDE/editor.
I use the--noconsoleflag because I didn't want a console to pop up when I run the exe by double-clicking it. - Navigate to the
distdirectory and run the.exefile to use the application.
You can navigate using the file explorer or usecdto get to the dist folder, then./app.exeto run it on the command line and see any outputs
Alternatively, you can download the project's source code as a ZIP file from the repository's homepage on GitHub and extract it to a local directory on your machine.
- Navigate to the project's root directory in your CLI using the
cdcommand.
Run using Python
Step 1: Install Python
If you don't have Python installed on your computer, you can download it from the official website for your operating system:
Make sure to download and install the latest version of Python 3.
Step 2: Download the source code from GitHub
You can download the source code from the GitHub repository by either:
1. Cloning the repository using the command line:
- "cd" to a folder you want to put the code into
- Clone the repo
cd /path/to/project/directorygit clone https://github.com/cybersader/fuzzyListDedupeGUI.gitOR ----------------------------
2. Downloading the repository as a ZIP file:
- Go to your repository on GitHub
- Click the green "Code" button
- Select "Download ZIP"
Step 3: Navigate to the project directory
Open a command prompt or terminal window and navigate to the directory where you downloaded or cloned the project. You can use the cd command to change directories. For example:
cd /path/to/project/directoryStep 4: Install the required libraries
Your project may require some external libraries or packages that are not included with Python by default. You can install these using pip, the Python package installer. Navigate to the project directory in your command prompt or terminal window, and then run the following command:
pip install -r requirements.txtThis will install all the required libraries listed in the requirements.txt file.
Step 5: Run the Python program
Once you have installed the required libraries, you can run the Python program using the following command:
python main.pyNote: if you're using a virtual environment, make sure to activate it first using the appropriate command for your OS (e.g. source venv/bin/activate on Unix-like systems or venv\Scripts\activate on Windows).